Special Projects Phoenix Rising – The ARES G36c from the ashes
The story of a Rebuild Bargain
PART TWO – The Build
The mission is clear, A high end AEG for little cash!
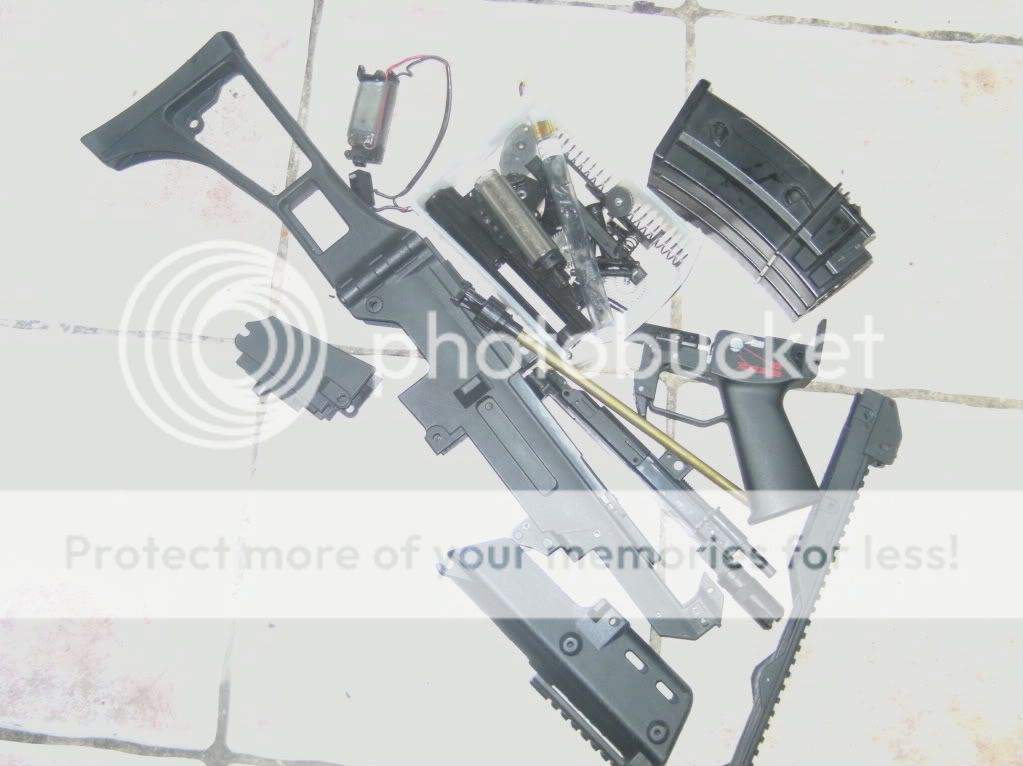
Now if you’ve followed part ONE you to could have just a bunch of parts! What to do with them? A Box of Parts (Rattle, Rattle)
Now we have a bunch of parts ready to be built up into a working Airsoft AEG. Having never worked on the ARES G36 before I thought it prudent to sort out the parts on a table first and take stock of what I had and give them a quick visual check.
After sorting the bits & pieces out into groups like gearbox and body parts I use good old Google and download from the STAR website a diagram of there G36c setup. Remember that there are loads of web sites about the internet that have all sorts of AEG and GBB diagrams for you to use as reference material.
A quick comparison with the official diagram I find only 1 part is missing and that’s the left hand side selector switch (not a big issue). I then assemble the body work, upper rail and the lower grip with its gears and selector switch and then move on to the Gearbox. The Gearbox
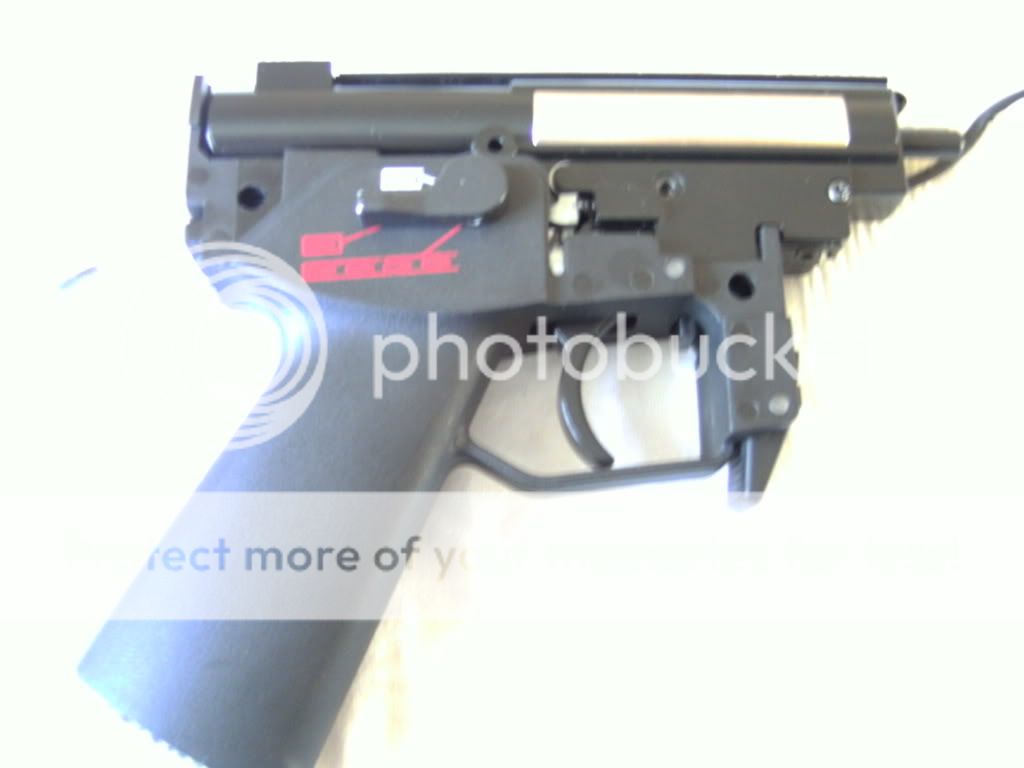
The ARES G36 use's a modified V3 gearbox shell as this gun does not use a traditional V3 switch set up, instead it uses a micro switch setup. After a quick test (by hooking up a battery to the motor and switch) I find this is all working to my relief. I am not going to bore you with how to build up this gearbox as there are some great guides on the Interwebs in the usual places such as YouTube and Mechbox.com.
Rechecking over the parts for the gearbox I notice the gears and piston are very clean with little or no wear. So the first parts to check are the Piston and Cylinder and carry out a quick pressure test on them. To do this yourself, place your finger over the Nozzle end of the Cylinder and try and push the Piston in, if it goes in with little or no effort then you will need to check the Piston and Cylinder "O" rings as they might need to re-greased or replaced (new "O" rings can be found in packs on E-bay and even B&Q), Lucky for me this time the air seal is solid and the Piston is impossible to push into the cylinder.
I did find a minor problem with the air Nozzle which had a small air leak (found by doing the above test with the Nozzle in place). As I will be upgrading the AEG this shouldn’t be a problem but can some times be solved by getting a small amount of lube and putting it around the brass tube on the Cylinder head (if you can, replacing it at this stage may save you further disassembly down the line!).
Next I start on the shimming, again there are loads of guides on the internet as this is one of them jobs that can’t be rushed (getting it wrong can kill the gearbox, so BE CAREFUL!). After some time and when I was happy with the shimming, I started to build the Gearbox up and only came across one real problem and that was keeping the trigger in place when closing it all up but in the end it went together with no need for the swear jar (every person that works on AEG's has one!).
Assembly
After placing the gearbox in the lower part of the body, I hooked up a battery again to make sure it still worked correctly. A quick burst on full-auto and then a few shots on semi confirmed all worked as it should. Now to turn our attention to the Hop and Barrel, although I had been advised that this had been taken apart buy the seller’s brother all looked fine with no damage, even the barrel was clean! If you should need to clean a Barrel whilst the AEG is apart I always use "SWAN Filter Tips" they come in a box with around 165 tips in all for around 70pence. I find they are a nice fit to standard barrels and get the barrel exceptionally clean.
Since the hop and barrel are okay I started building the gun up and I have to say the Ares G36 is a very easy gun to assemble. The only thing to look out for when putting in the lower body/gearbox is to ensure you push the hop/barrel forward so it all fits together. After assembly of the AEG I just had to get in the garden and have a quick test. The gun came with a mini 8.4 battery of unknown make and its a very tight fit getting it in the hand guard but once in place it can move around so a nice 9.6 mini would fit with little issue.
 My first impressions of this AEG are "I like this.. ", being mostly plastic I was expecting it to be very light but it wasn't, it had a nice feel and weight, the magazine went in with a firm click with no movement and on aiming at my target the gun fired with little effort and was on target. Even on full-auto using the 8.4 mini gave a nice rate of fire with a crisp trigger response.
Total time elapsed: An hour getting the shimming right and then around 30 minutes building up the AEG and then 10 minutes playing in the garden.
What a great Bargain!
Items for your kit bag!
Now for all the stuff I use when building or fixing AEGs. This is not a full list but it is just to give you an idea:
* Allen keys (different sizes)
* Phillips screw driver's (various sizes)
* Flat head screw drivers (again as above)
* Cylinder and Bearing lubes
* Knife
* Lighter (heat shrinking)
* Pointy object (I use this for placing the likes of tappet plate springs and moving the gear axles when closing the gearbox up)
* Shim's (lots of different sizes)
* Needle nose pliers (small set & large set)
* All I required for this AEG build was a couple of screw driver's, shim's and my ‘pointy object’.
Next we will look at how to improve the bargain AEG!....
Catch up with previous posts in this series:
Phoenix Rising Announced
Phoenix Rising PART ONE - Spotting the Bargain
Phoenix Rising PART THREE - Rise of the Phoenix
Phoenix Rising PART FOUR - The Phoenix Strikes
Phoenix Rising PART FIVE - Player Feed back - the final installment
Follow new posts via TWITTER:
http://twitter.com/Airsoft_Odyssey
Checkout the KingArms website for more great upgrade parts from shims, gears, mech boxes, motors and more plus their range of AEG's and accessories
This Article & pictures are copyright 2011 by Yossers Airsoft Odyssey © and John Williams and may not be be copied or reproduced without permission. You may link to this page.
Subscribe to:
Post Comments (Atom)


0 comments
Post a Comment