


Featured




Slide Set Upgrade
Armoury KitBag
 Ace 1 Arms
WE M&P Salient Arms Tier 1
Standard Slide Set
Review and Install Guide - by JJRaptor



It is packed in a simple clear plastic box with foam packing inside to protect the slide, I got the set out of the packing and went over all the parts, there was not a single mark on any part, so they get 10 out of 10 for packing.
Included in the set are:
SAI tier 1 standard slide
Outer barrel
Front and rear sights
Fake extractor
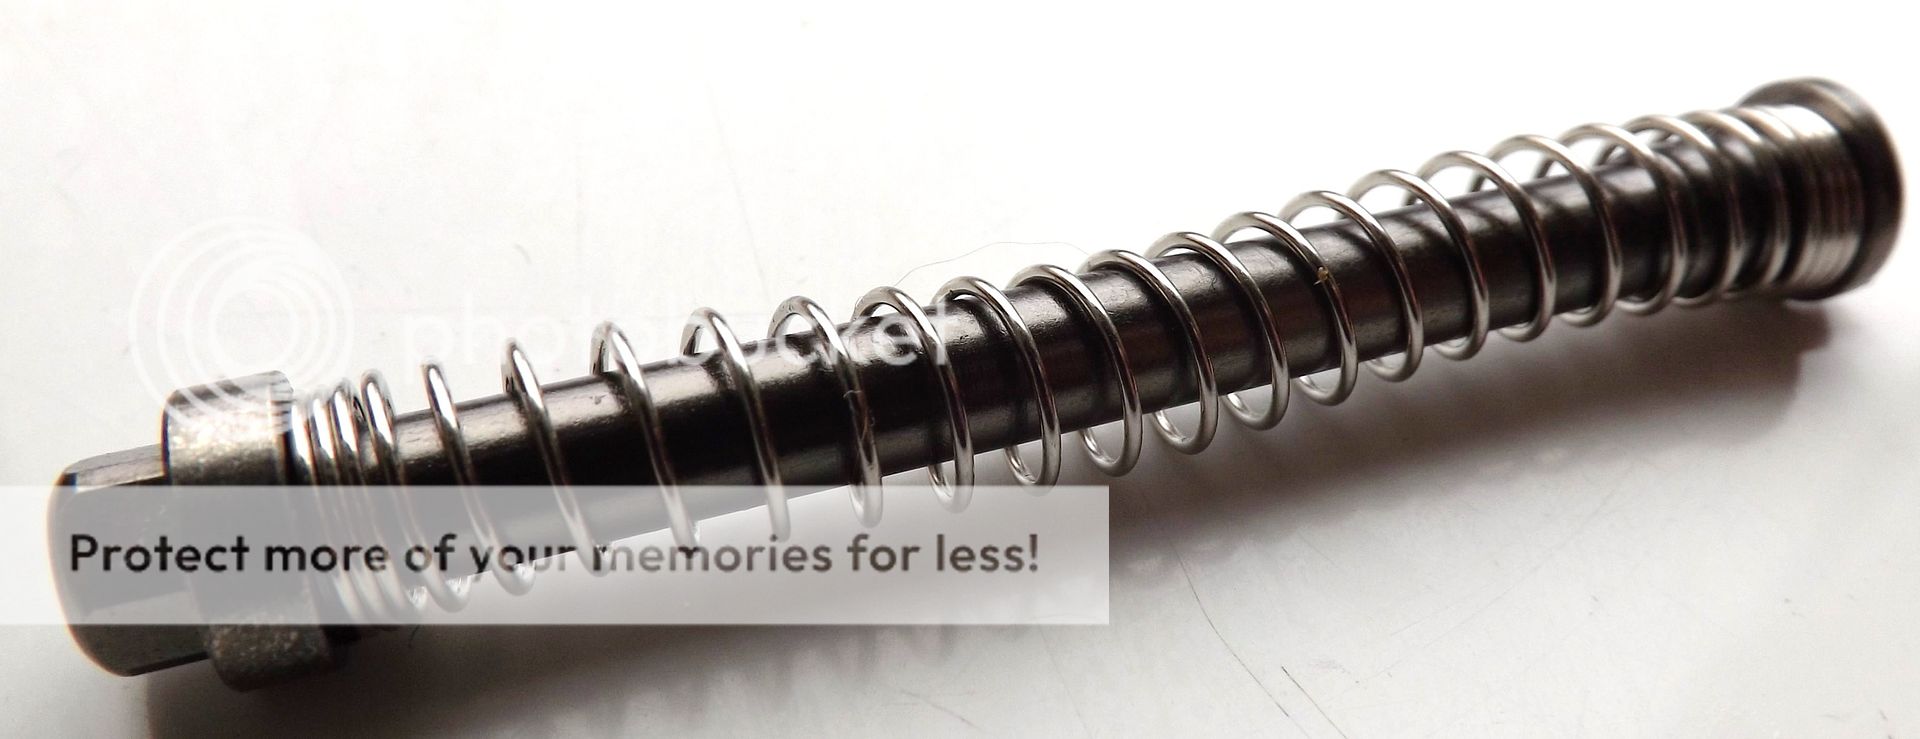
Steel recoil spring guide and 130% recoil spring
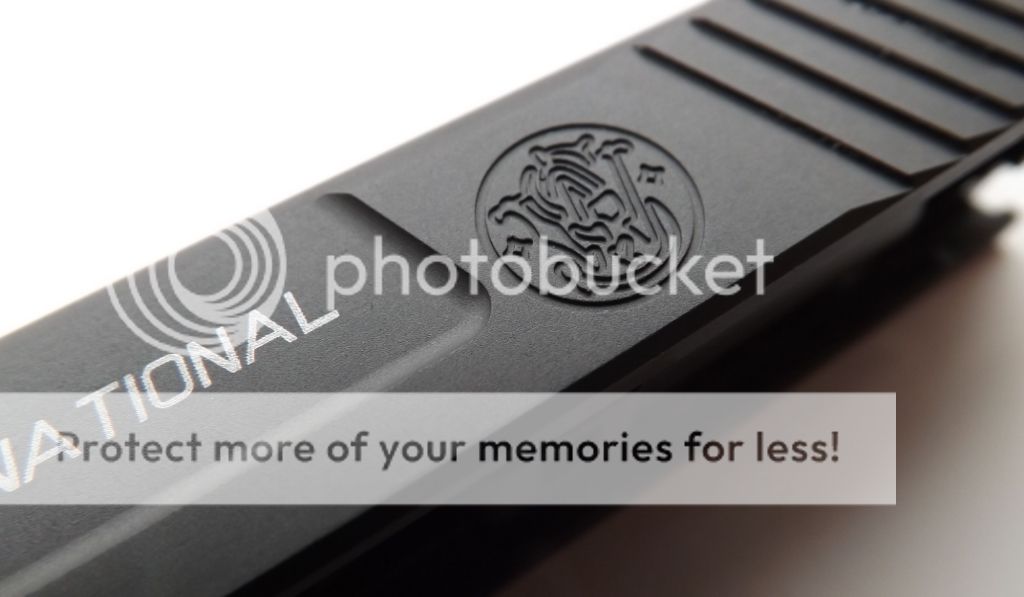
There are two slide and barrel options on this kit, either the Black slide and golden barrel or FDE slide and black barrel. I went for the Black slide set, although when I say its black it’s more of a dark grey with black sights and fake extractor. The slide is fully CNC’d and from looking at photo’s of the real SAI slide it’s based on every cut with the profile looks like its real counterpart even down to the great Smith and Wesson logo on the side of the slide. The paint has not shown any signs of wear yet but as we know only time will tell on that but for now it looks resistant.
Fitting all the parts is very simple, the first job is to fit the well made fake extractor, it fits the slide well and it all the lining matchs on the out side, once the extractor is in place the standard WE BBU drops in place with no resistance or wobble, now you have to place the SAI rear sight in place and secure the BBU by using the standard WE BBU screw. Again the rear sight is well made and looks to be cnc’d with an excellent finish and sits true in its place.


WE M&P Salient Arms Tier 1 Standard Slide Set
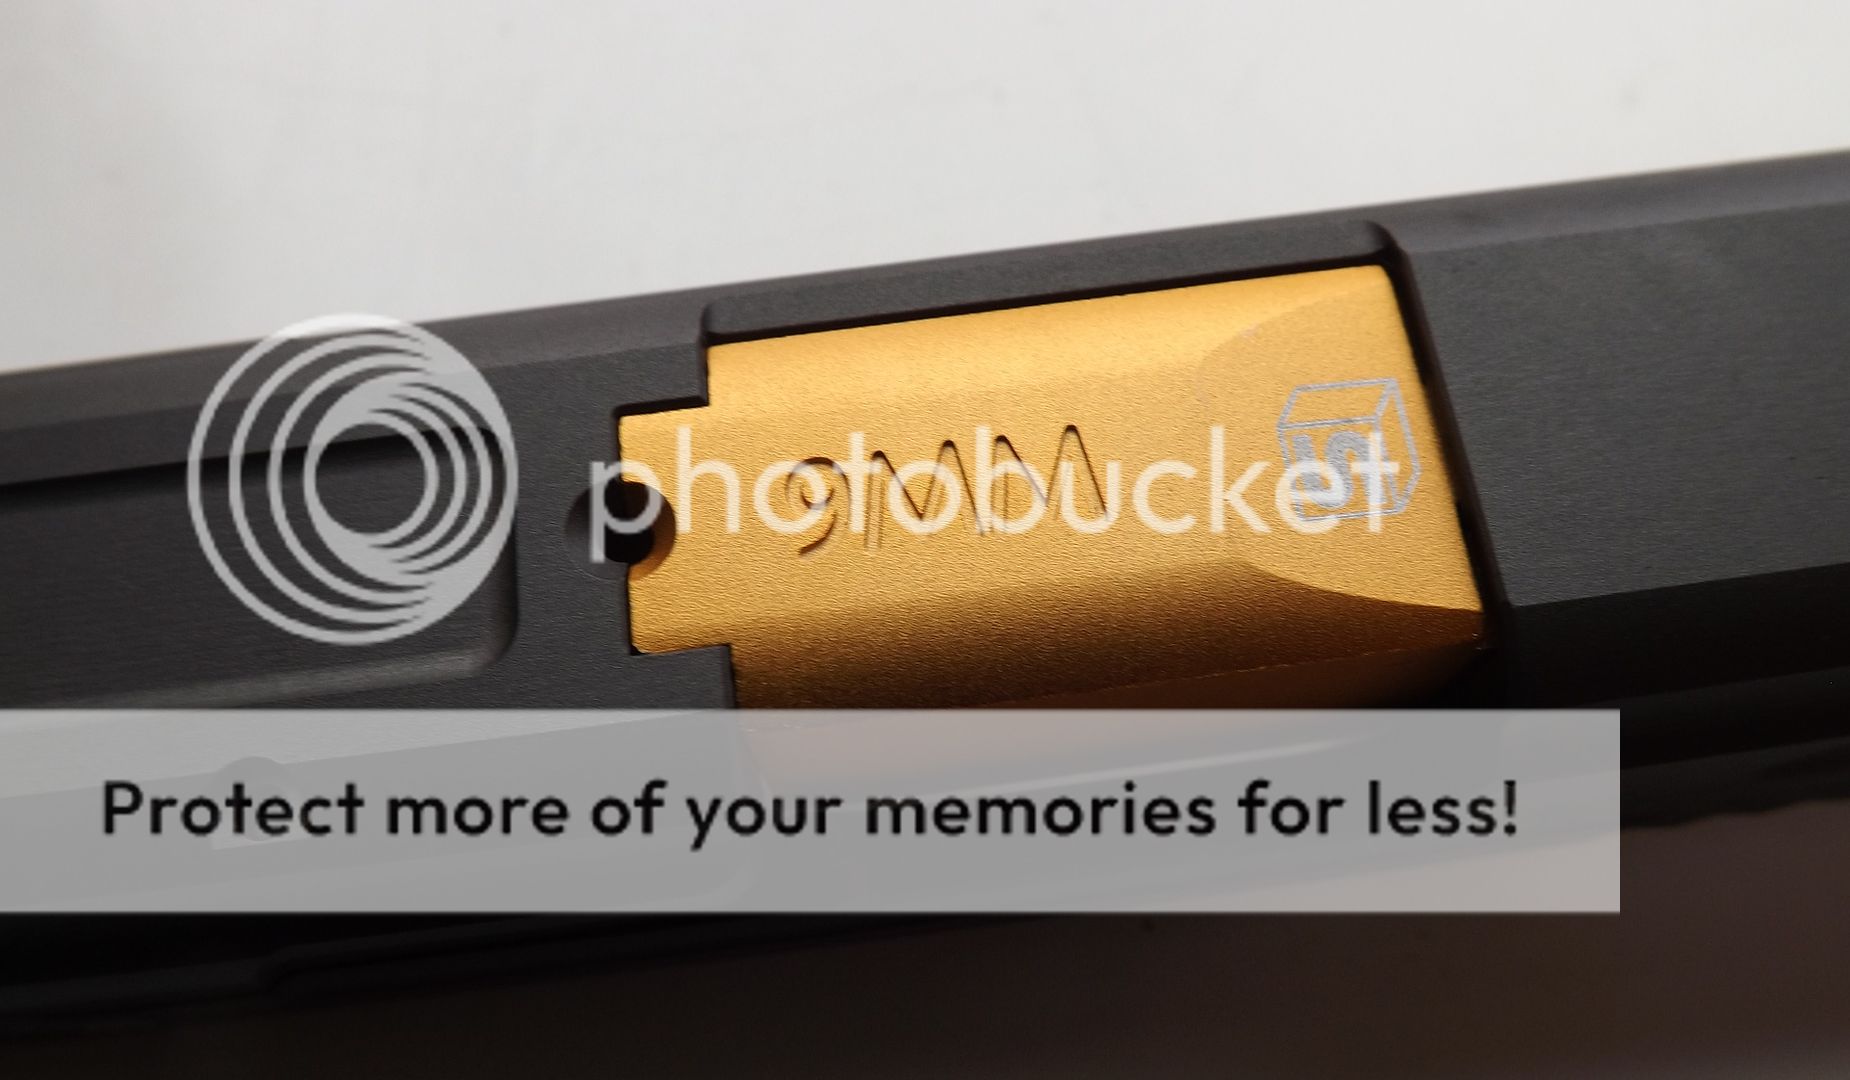 The next part for me was fitting the inner barrel and hop unit in place, before you do this make sure you lube up the O ring hidden at the end out the outer barrel, this O ring is meant to keep the inner barrel stable during use and I think it’s a nice touch to include it.
 The outer barrel I have is the golden unit and till I had it in my hand I was unsure of the colour but I am very happy with it now I have seen it in the flesh. It has a metallic finish to it and the SAI trade marks are nice and clear. Fitting the inner barrel hop unit is just a matter of sliding it in to place and then fitting it to the gun.
 Now on to the steel spring guide it comes with a 130% recoil spring fitted to help keep the gun nice and snappy in use and is well made with a dark chrome finish, before you fit this you might want to unscrew the end cap and put a little drop of thread lock to help keep it in place as I noticed after 2 magazines it had become lose. Fitting the unit in to place as you would the standard unit it fits in to place as it should.
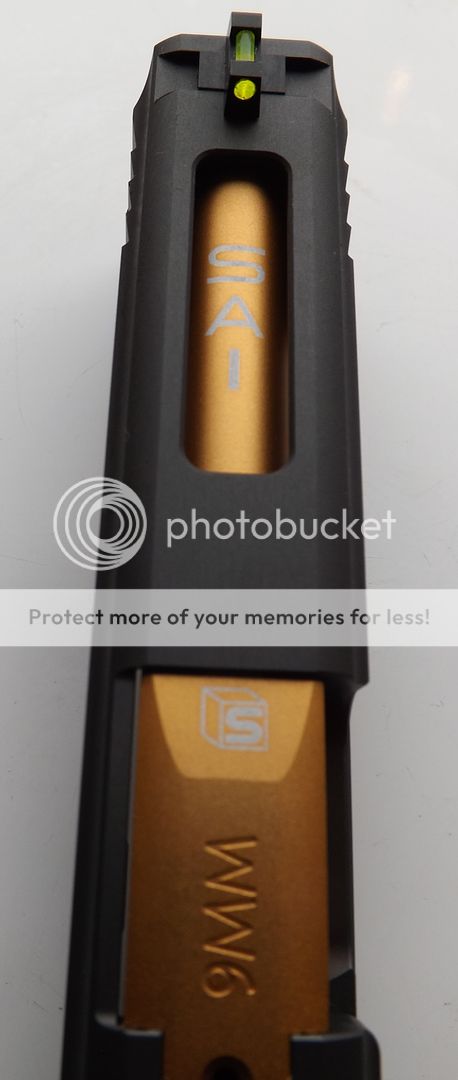
The slide is now all together and the only part to fit is the front sight, now this is a little different to most slide sets I have fitted in the past with it using a small allen type grub screw to secure it to the slide, the slide its self has a small locating indent for the grub screw to locate in to. Once you have the sight in place its just a matter of fitting the supplied fibre in the hole and using a lighter to melt the ends (this only takes a second be aware though the flame does not need to touch the fibre).
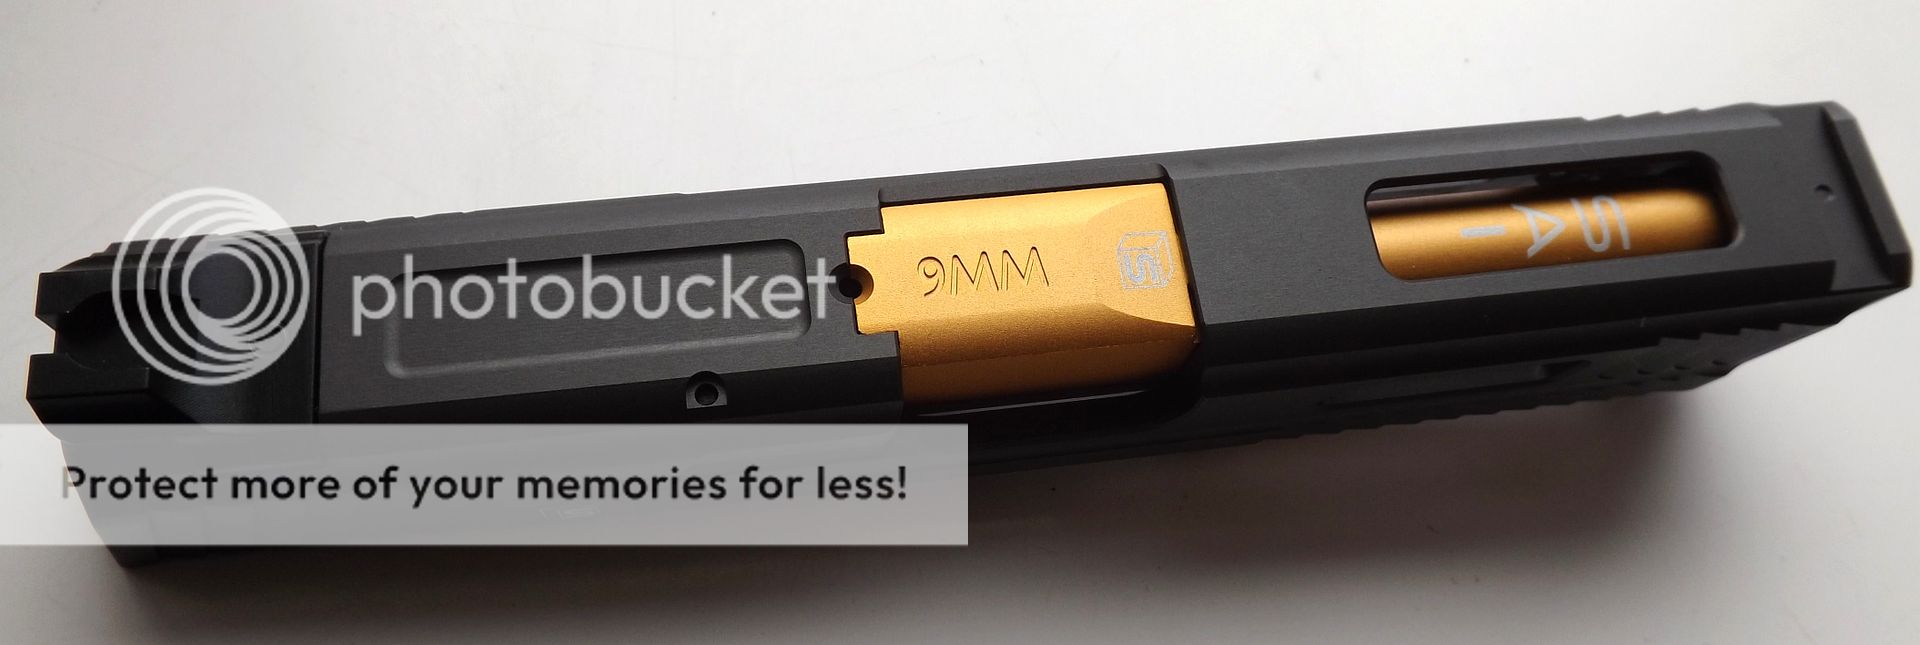
Your slide is now fully built up, I used plenty of lube on the slide rails and slowly fitted it to the WE lower expecting some bits of filling and general modifications but was surprised to find it just dropped on with no extra work needed. With a magazine loaded and gassed up I fired it off and the gun worked as it should locking back after the last BB was fired.
 After a trial fire I took a moment to look over the outer barrel for any marks or signs of the paint being removed and even now after 6+ magazines the outer barrel is still as clean as the day it was fitted. The only mark on the slide I have noticed is due to the last bb when it goes to lock back the slide cut out hits the back of the slide catch and is starting to mark the slide.
This is by far one of the best SAI slide kits I have fitted and to boot its one of the cheaper units on the market ACE 1 ARMS have done an excellent job.
Tools needed for fitting:
Philips screw driver
Small allen key set ( I think it’s a 0.7 key but cant be 100% as it was just lose in the tool box )
Lube for the slide and barrel O ring (I used GHK gbb lube from Milspec Solutions)
Skill needed for fitting:
If you can strip your current slide you can fit this unit with ease!
Follow Airsoft Odyssey on Twitter for all the latest news & reviews:
http://twitter.com/Airsoft_Odyssey
Checkout Raptor Airsoft on Facebook by clicking the banner:

This review is copyright 2014 by Yosser's Airsoft Odyssey © & Raptor Airsoft and may not be copied or reproduced without permission. Pictures copyright 2014 by Author. You may link to this page
KEEP UP to DATE with Airsoft Odyssey via all these Multi-Media Outlets - please click the icons and Support the BLOG on:


PDR Problem - no more!
Special ProjectsBoneyard
 Magpul PDR
Magazine Problems?
RESOLVED
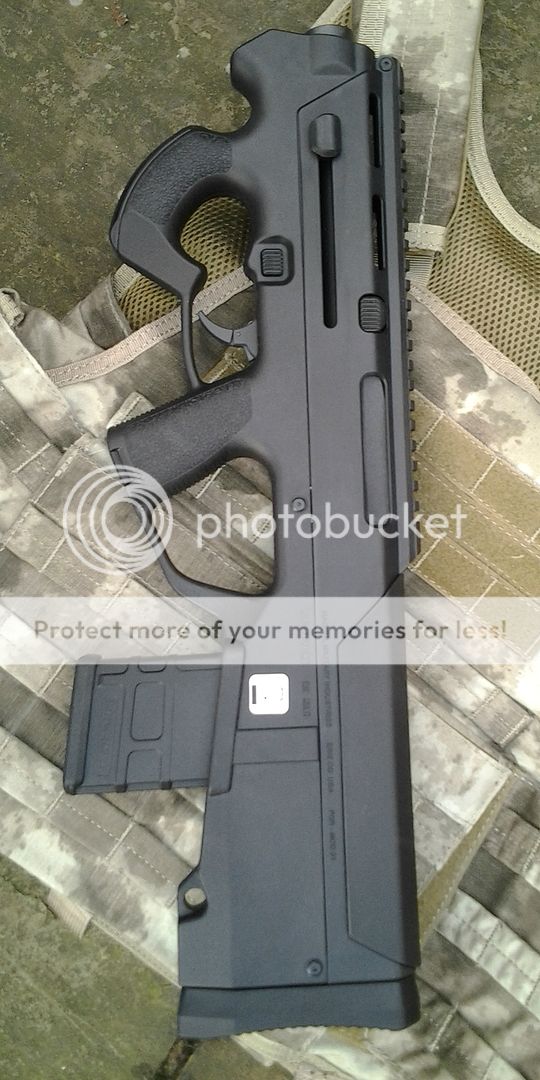
So what a disappointment it was that some of us were having problems with the ‘lock & load’ of mags in this otherwise great AEG. Some like me thought it was to do with the battery size maybe ‘interfering’ with the mag release mechanism which goes practically the length of the PDR. But thanks to my good mate at Raptor Airsoft he soon had it fixed – simply and quickly!
All you need to do is remove the stock pad and rear and middle body pins, now swing the body up and you will see the part in the photo on the right hand side of the gun. Loosen the screws off a little and keep pressing your mag release button until its resetting correct , then try your mags to see if they lock in. Hopefully this should sort your mag release problems, as it has done mine.

Just loosen off these screws to solve your magazine Lock & Load issues
Thanks to Raptor Airsoft for sorting this out and kudos to JJRaptor – thanks a million I’m now re-united with my PDR in working order!
Wait till you see what happens to it next!
Follow new posts via TWITTER:
http://twitter.com/Airsoft_Odyssey
Checkout the Raptor Airsoft Facebook Page - for tech stuff
This Article & pictures are copyright 2013 by Yossers Airsoft Odyssey © and John Williams and may not be be copied or reproduced without permission. You may link to this page.
KEEP UP to DATE with Airsoft Odyssey via all these Multi-Media Outlets - please click the icons and Support the BLOG on:
ShotSynth
Boneyard
 ShotSynth
Sound FX
for your AEG/GBB


ShotSynth by lolsystems is the latest download to get your AEG sounding like the real deal – but only to you! With this app, you can convert your airsoft AEG or GBB etc sound into a realistic or cool one that can only be heard by you via your headphones, if you wish!
The free-of-charge version of this app comes populated with 9 on-board sounds:
- 9mm handgun
- .32 handgun
- .38 handgun
- gun #1
- gun #2
- gun #3
- shotgun
- .30 rifle
- .30 rifle(shot in the wood)
Search “ShotSynth" on the Apple App Store
Hopefully an Android version is coming soon!
Tarian Marks Targets
KitbagQuarterMaster
 Target Review
TARIAN MARKS
- by Magnus_Opum
A UK made, explode on impact chalk target suitable for airsoft! Just don't use them around the house as our intrepid tester Magnus_Opum finds out in this latest review.
Not for the In-door Marksmen!
 Sometimes, when I spend the evening before a game packing my kit, guns and assorted spares, looking at the weather forecast and considering how many layers to put on, I wonder if there's another way to get that satisfaction of a hit.
By chance, I came across a company called Tarian Marks on eBay when looking for a certain brand of rifle target. This company produces chalk targets in various sizes and colours (white, pastel and fluorescent) which, when shot with an air or small-bore rifle, explode in a pleasing puff of dust and small fragments.
Perfect for a spot of practice I thought and ordering some of the 24mm and 45mm circular targets, I eagerly awaited their arrival. Soon after, and very well packaged, in order to protect the thin chalk discs, I was getting ready to set up in the garden. Tarian Marks do have a range of pre-fabricated steel target systems designed to hold the discs but I had decided to recycle some old wire coat hangers using a pair of pliers.
As I don't shoot air guns or smallbore in the garden, I thought I'd test my new RWL Knighthawk Custom Co2 1911 (390 fps with 0.3g Blaster bbs) on the Tarian Marks' to see at just what range the pistol couldn't break them anymore. I started out at five metres with the 45mm targets and was happily surprised when each turned into a puff of white dust. Not much of a challenge I thought so the range increased to ten metres and I moved on to the 24mm discs. Now this was to be a real test of the pistol, the targets and my skill. With the bright white of the chalk and the company logo deeply printed on the face I had no problems keeping a clear sight picture and taking them out one by one. Even at that distance, the 6mm bb shattered them with ease and with each successive shot, they flew apart, putting an ever increasing smile on my face.
With Airsoft, we all like to get our hits in and watch the other player raise their hand. It's a sense of satisfaction and enjoyment that all shooters can attest to when it comes to getting that great shot. The Tarian Marks targets allow you to have that sense of achievement in accurately destroying what you're shooting at but all in the confines of your back garden. The fact that more than two hundred 24mm discs come in at under £7 with delivery means they are, in my opinion, a better option than the paper-based hit marking targets out there, especially for airsoft practice.
The only thing I cannot recommend when it comes to blowing apart chalk discs, is setting them up indoors when the wife is out. I can tell you that cleaning up that mess took much longer than I thought it would.
To save another telling-off, I'll keep to the garden with these great little targets.
As mentioned, these target were tested with a high power Co2 pistol running at over 300fps. More conventional airsoft guns will provide a similar effect but the range may need to be decreased. I have run test shots with a standard WE XDM on green gas and found it to be more than powerful and accurate enough to shatter the targets at five metres.
Find them on eBay or at www.tarianmarks.co.uk
 Bio: Magnus_Opum has been a shooter his entire life - From .17 HMR to .50 cal and everything in between. He's been playing airsoft for the last ten years with a vast collection of custom guns which get aired randomly when he isn't writing or supporting the shooting community in one way or another."
Keep upto Date with ALL the blog happenings via Twitter:
http://twitter.com/Airsoft_Odyssey
To find out more about Tarian Marks check out the website by clicking the banner below:
 STAY in TOUCH with Airsoft Odyssey via all these Multi-Media Outlets:
M.E.T.s Review from G&G
KitbagQuarterMaster
 G&G M.E.T. unit Review
Multifunctional Electronic Target
by Yosser

G&G 5 piece M.E.T.s set

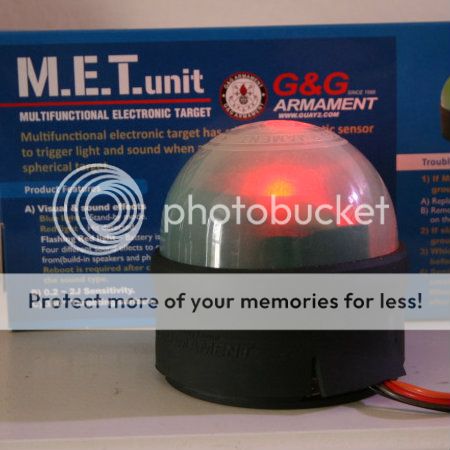
It’s great to start 2013 with a BIG review and we have access to the new M.E.T. unit fresh from G&G for review. In case you’ve not heard of these, they are the new way for airsofters to practice or compete with friends in their back gardens, garages, or on the range in the form of Multifunctional Electronic Target units – M.E.T..


Choose from:
1. Competition Mode (Default) – all modules are put into Stand-by mode, with a Blue-light displayed. The first target hit turns Red whilst all the other targets switch off and will not register a hit.
2. Versus Mode – Only the Master Target is in Stand-by mode, with a Blue-light displayed one the master is activated a countdown for 5 seconds begins. Once the countdown has completed all target modules will turn solid Blue. The first target hit will turn Red for 5 seconds and gameplay will auto-reset with the Master Target returning to Stand-by ready for replay when the Master Unit is re-activated to start.
3. Random Mode – the Master Target will light up Blue with all the others in Stand-by mode. As soon as the Master Target is hit the next target will be activated randomly. Once all targets are shot the last one will turn Solid Red for 5 seconds to signal the end of the round before it all resets for the next round. The Master Target will always start the sequence again.
4. Practice Mode – All targets will display Blue lighting and turn Red when hit. The last target hit will stay solid Red for 5 seconds to signal the end of the round before the units auto reset for the next round.
*Just remember to wait at least 3 seconds or so after powering up before switching game modes from the Master Target Unit.
In use these M.E.T.’s are extremely easy to use and I like the way that ONLY if the rubber spherical target section is hit does the pneumatic sensor trigger a hit. Even hits on the body of the M.E.T.’s which are protected by a rubber skirt around them wont register as a hit which will ensure only a players accurate hits will count.


G&G M.E.T.'s target area and wiring
Although these units are available individually to get any benefit from the play modes available you will need more than one and I would also suggest the longer wiring set which is available separately (the 5x set comes supplied with 5 lots of 50cm wires) in order to give you more of a challenge and allow you to space your targets further apart.
These are great units to play with friends in a garage or range type setting with the ability to link up to 25 together and a maximum wiring length of 15 meters you could make quite a course up between a few of you. The units must be mounted on a flat surface (and have a threaded section underneath them, similar to a camera tripod screw mounting point in size) they cannot be placed on their sides showing the full domed face at more than a 45 degree angle facing the shooter due to the method used for detecting a hit.
The units are available from G&G stockists in sets from 1,2, 5 or 25 units so you can add to your collection as cash allows!
 Yosser says: I’m really enjoying playing with these M.E.T.’s they provide a great target set to improve accuracy and timings. I would have liked them to be able to be vertically mounted to shoot at the full domed face of them but with some creative mounting techniques you can still create an impressive range setup. Watch this space for an upcoming project using these great units. It would be nice to see further accessories for these targets like a timer unit and maybe a remote master switch so all M.E.T. units can be placed down range and initiated remotely for all game modes..
Why not follow Airsoft Odyssey on Twitter to keep upto date:
http://twitter.com/Airsoft_Odyssey
Check the G&G website for more intel:

This Review & pictures are copyright 2012 by Yossers Airsoft Odyssey© and may not be be copied or reproduced without permission. You may link to this page. G&G logos used by kind permission
KEEP UP to DATE with Airsoft Odyssey via all these Multi-Media Outlets - please click the icons and Support the BLOG on:












ClustRMap

Popular
-
News Archives Boneyard UKARA NOT REQUIRED @ The NAE - National Airsoft Event Report by Special Correspondent Maree Now this blog ha...
-
Kitbag Armoury SiG 552 ‘Commando’ by ICS - A Review by Yosser With a reputation for quality AEG’s produced by ICS expectations were high w...
-
News Archives ++Breaking News++ UK Airsofters to get NEW Representative Body Great news filtering through for UK Airsofters of a NEW repre...
-
News Archives Rattling the Tigers Cage! VCRA Reboot Reporter: Yosser BREAKING NEWS++BREAKING NEWS++BREAKING NEWS++BREAKING NEWS++BREA...
-
Kitbag Armoury CZ75 P-07 Duty CO2 GBB Pistol - Reviewed by Yosser For some reason, which I can’t fully explain, I must confess to having...
-
Introducing a Dedicated North West Airsoft Retailer: 'Dingodog's Airsoft & Tactical Supplies' - A Review by Yosser Imagine ...
-
Kitbag QuarterMaster Helikon GunFighter Jacket - Reviewed by Yosser The Gunfighter Jacket has been out and about on general release for...