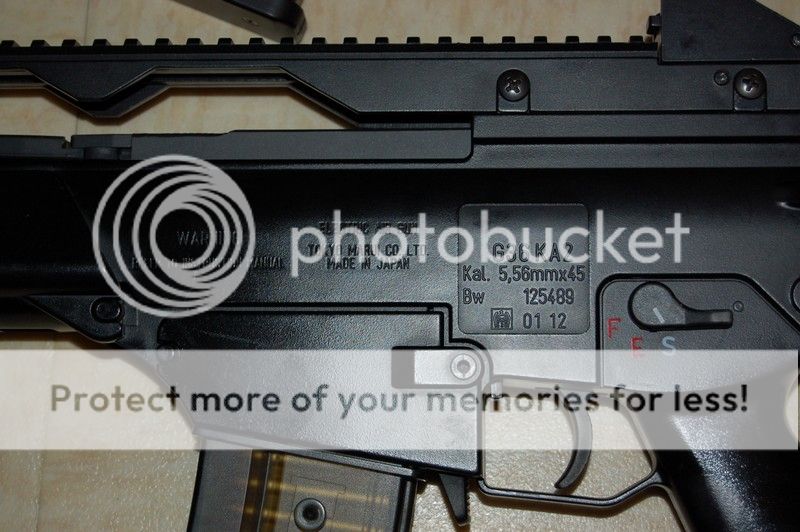
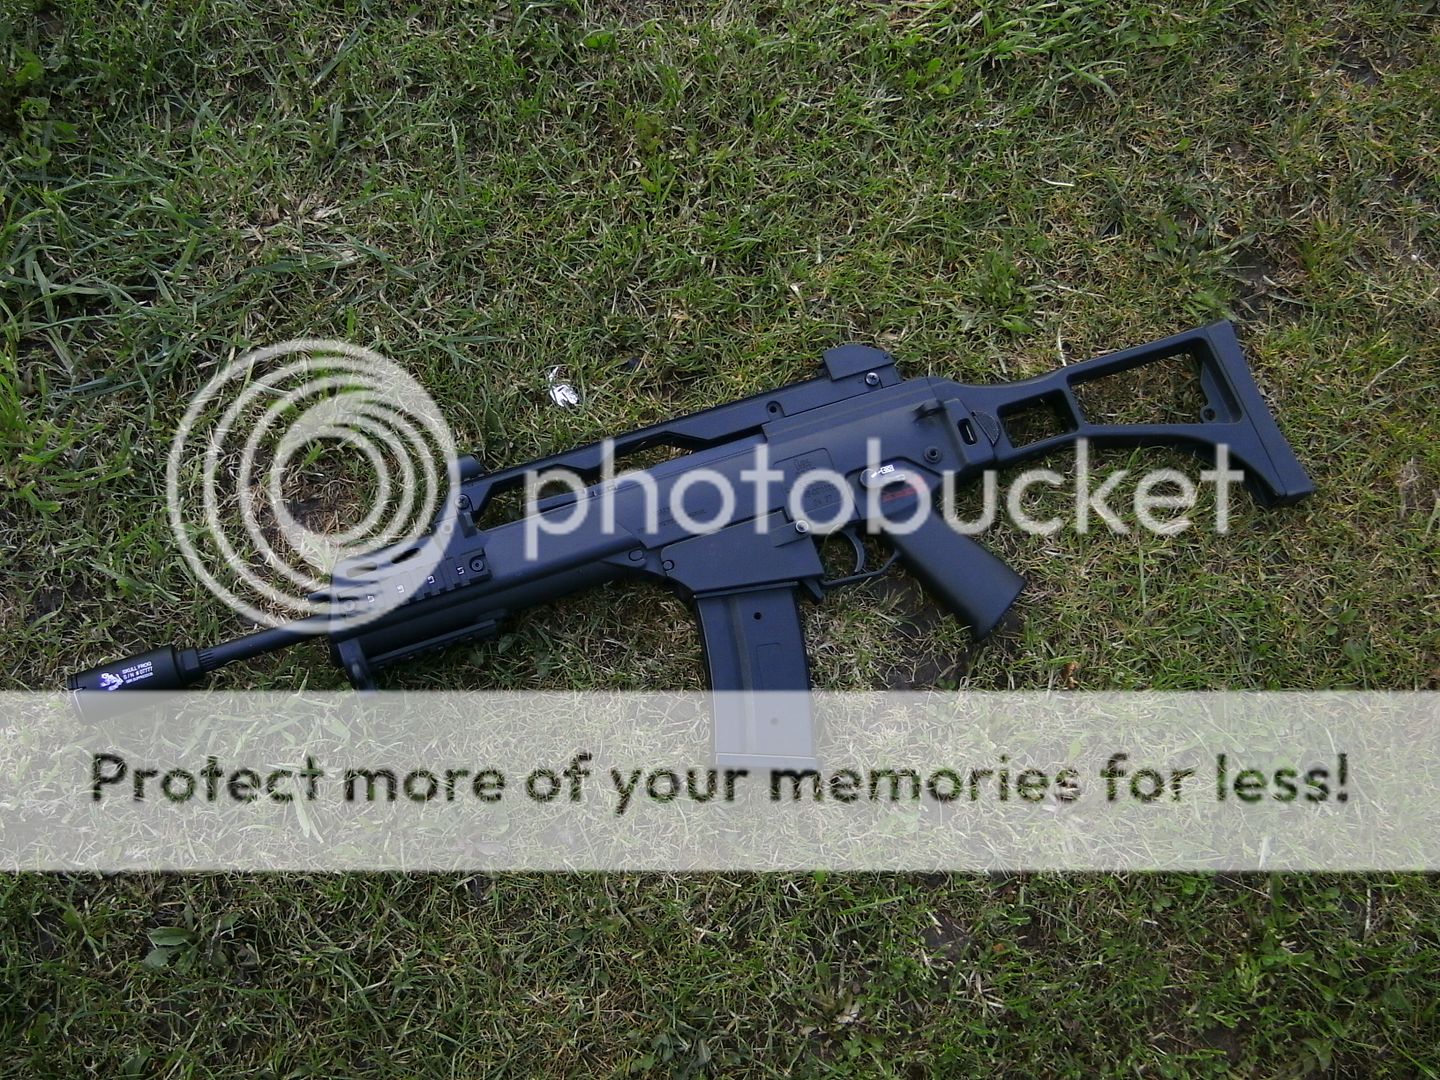
Special Projects Phoenix STRIKES BACK – a TM G36k Recoil sheds its skin for a new look
UpGrading the TM G36k 'Recoil' Can it be done - YES!
By RaptorAirsoft Gun Tech JohnnyJ
On most projects like this you do run the risk of killing your guns but for this project I'm happy to say not a single part of the TM G36k was modified or harmed in the process so you only run the risk of killing your donor AEG, in this case the Ares G36 (our original Phoenix Rising AEG Project Gun). A month ago I was passed a TM G36k recoil for a simple service by a pal from my regular site SWAT AREA51. The gun was 18 months old and hadn’t been serviced since new. Once I had received the gun, I placed it on my work bench ready to be worked on and I could not help thinking "It looks ugly!" referring to how shiny the gun was looking (typical for most TM branded AEG’s), at that point my eyes looked over into the corner where the old PROJECT PHOENIX was looked dejected due to having had parts robbed in order to get a mates Ares UMP up & running.
Before I knew it, I had stripped the Ares G36 down fully and started pulling the TM G36 apart just to see how much difference there was between the two guns. A very large grin soon developed across my face as I soon realized just how very close they are!
A quick phone call to the owner to ask if he wanted his TM guns body upgraded and he was more than happy for the project to happen, so long as no TM parts had to be modified.
Now this should have been a super quick little project but sadly my Dremel decided to break, so out came the tool box. With all the parts in front of me I decided to attack the front end of the gun first.
In the TM G36 the charge handle-fake bolt-recoil weight are all held in a metal carrier, it was a couple of mm’s out in places, one of the holding lugs (see FIG1) needed trimming down, for this I used a Stanley Knife just to trim the edges a little so it would fit inside the metal carrier. Next was the very front of the body (FIG2) this again just needed trimming a little, for this I used the knife and needle file taking a little off at a time, until the fit was perfect.
For this part you will need to take your time (FIG3) at the front of the charge handle on the body there is a body pin, you will need to trim this down a little at a time. If you remove too much the pin might not hold the body together! (you have been warned) and after I trimmed it down I used a very fine file to clean it up all the time fitting the carrier and closing both halves of the body checking for alignment and ensuring the fitting was tight.
Now the front was fitted, it was time to attack the rear of the body as the TM has its large recoil weight, you will need to remove anything that will foul it (FIG4). I cut what I could with the knife away and then used sand paper to finish the job, again always checking the fit with the gearbox. The gearbox will fit in the ARES lower with no problems; you just have to remove the wiring holder at the back of the gearbox so the rear body pin can pass.
So, we are nearly done ! The last job is the stock metal frame, there is a bolt that holds the TM's recoil spring in place and this pass's through the metal stock frame, the threads inside the frame will need to be removed. To do this I had to use a round needle file but a Dremel with a drill bit will do this in seconds for you.
When building the gun back up it now has to be done like the old TM MP5's in a clam shell so just have the all the parts in place like the above photo, including putting the bolt in the stock frame ( it can be made tighter once built). Once it’s all together make sure all the parts move as they should, I found that the main area's that required sanding to be the cocking handle as it was just sticking a little.
With a Dremel I would say all of the work should take less than an hour, for me with hand tools it needed 2-3 hours with lots of little breaks for tea. TOOLS USED
Stanley Knife
Needle file set
sand paper
Screw driver set
Dremel makes it easier!
Now all the work is done you can enjoy your TM Recoil and have
the added bonus of telling people what it is when they ask.
Catch up with the ORIGINAL Project Phoenix Rising series Starts here:
Phoenix Rising Announced
JohnnyJ is a brilliant airsoft tech with many years experience - he's the goto guy many of us use in the North West for fixes, services and repairs!
Follow new posts via TWITTER:
http://twitter.com/Airsoft_Odyssey
Checkout the Raptor Airsoft Facebook Page - for tech stuff
This Article & pictures are copyright 2012 by Yossers Airsoft Odyssey © and John Williams and may not be be copied or reproduced without permission. You may link to this page.
KEEP UP to DATE with Airsoft Odyssey via all these Multi-Media Outlets - please click the icons and Support the BLOG on:
Subscribe to:
Post Comments (Atom)


2 comments
JohnnyJ is indeed an airsofting technical guru. What he doesn't know about fixing guns could be written on the back of a very small postage stamp.
The Phoenix was/is a cracking gun and I'm a bit sad that I may have been responsible for its demise. :(
That said, the guy who John has done this work for should be as pleased as Punch. I know I was with how the UMP turned out! :D
Posted on May 10, 2012 at 10:04 PM
How cool is this? I am now the proud owner of this TM recoil shock G36K!!
I am absolutely overjoyed with it and it now has a metal RAS kit bolted on. JJ,you have done me proud mate. I can't wait to have a pop with it.
Thanks very much.
Posted on July 25, 2012 at 11:49 PM
Post a Comment